weebly statistics
Home About Links Contacts Show Show
Amanda

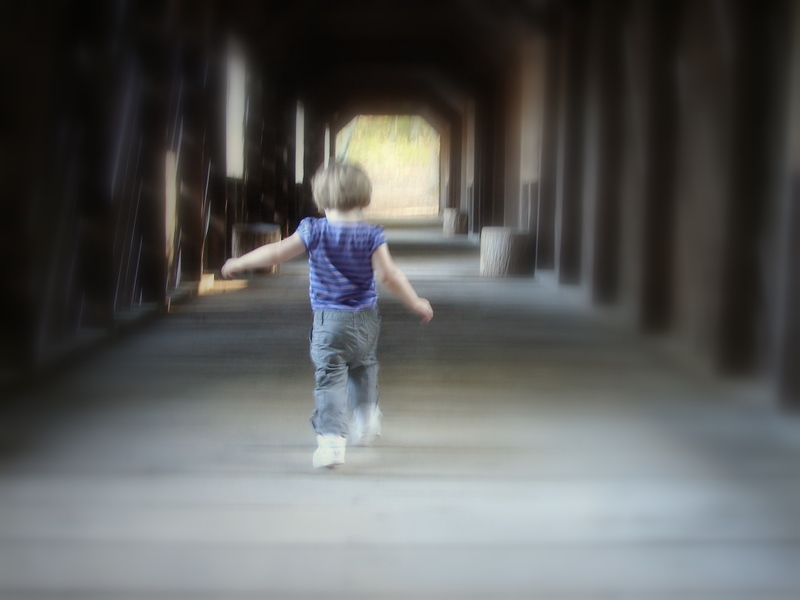
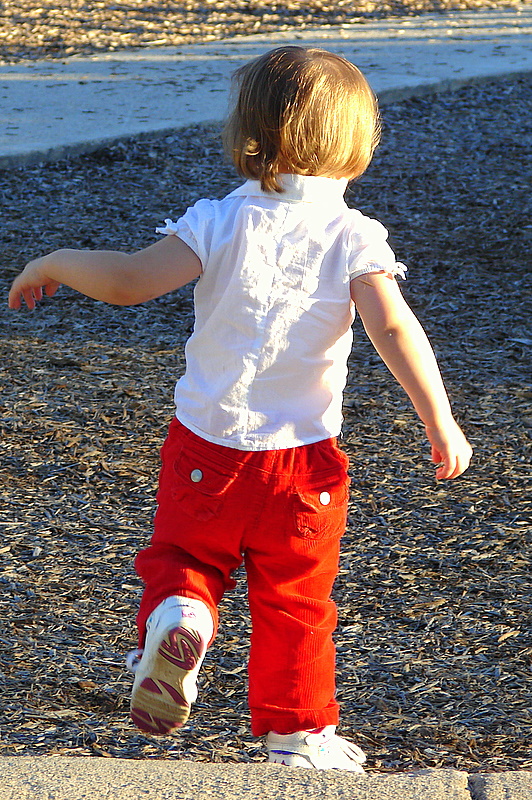
20 Keys to a Successful First Birthday Party

by Amanda on May 12, 2008
category: 0 – 1 year (baby),Fun time & Toys,Inspiration

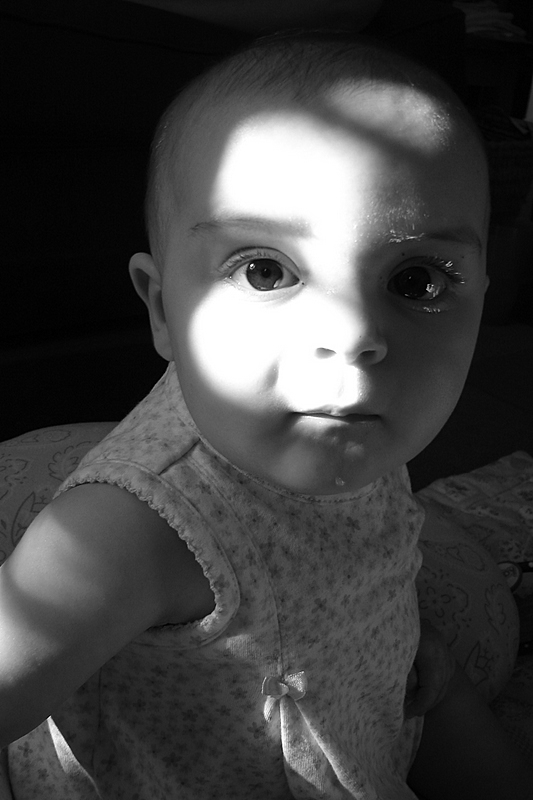
I used wonder why first birthday parties were such a big deal. The party is really for the parents, right? Now I understand that the first birthday party is a celebration of life bringing friends and family together. The party marks a milestone of surviving the difficult first year for both the little one and the parents.

Our celebration turned out wonderful. I love party planning and helping everyone have a great time. Here’s a few keys that I’ve found that will help make your first (or any) birthday party a success:

  • 1. Consider your child’s nap times when scheduling the time of the party. Plan the party around your child’s nap times so they will be happy when it is time to start. We started our party at 4:00 p.m. This allowed Ace to get two naps in during the day and all the kids that attended could eat dinner at the party and be home by bedtime.
  • sat-may-3-2008-copy.jpg
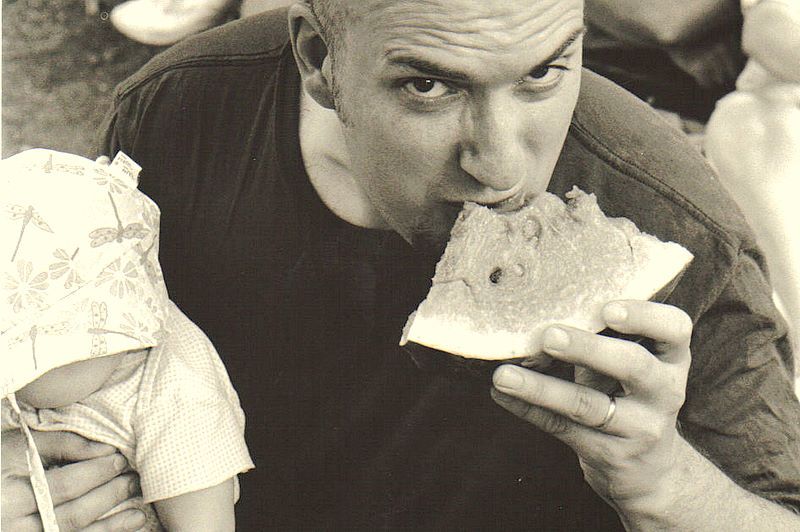
2. Every first birthday party must have cake! The theme of our party was flowers, so my husband made two cakes in the shape of a flower. We bought a cake flower pan at Hobby Lobby and used boxed cake mix. We didn’t have time to make a special small cake for Ace so I just cut off one of the petals for her to dig into. No one cared that she didn’t have a special cake to herself.
  • 3. Play fun party music! The key is not to play what you like, but what will get the party going. Just because I like alternative-folk music doesn’t mean that everyone else likes it. Nor does it make for a fun party atmosphere. We hooked up my husband’s laptop to a receiver which connected to a pair of large speakers and played music from Internet radio through iTunes. We placed the speakers outside an open window in the backyard so it could be heard both inside and out.
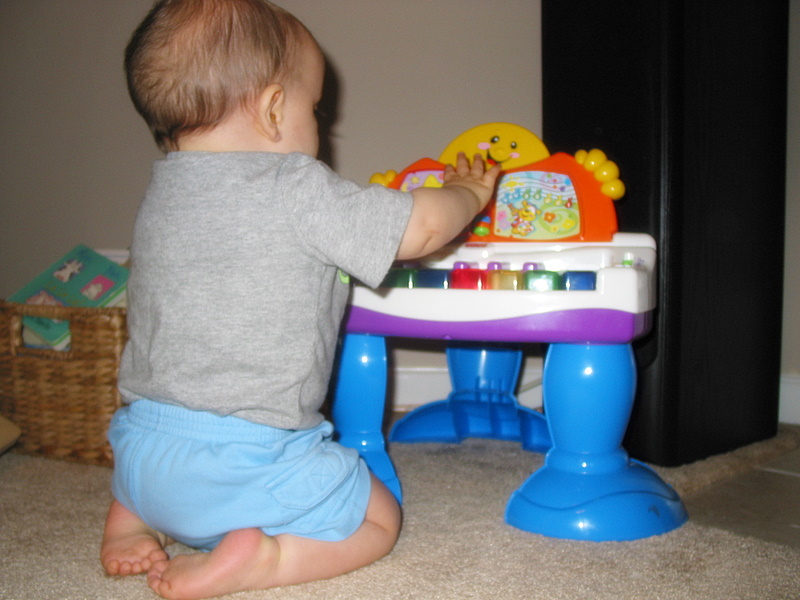
  • 4. Have activities for all ages. We set out toys inside the house for the little ones. In the backyard we had horseshoes and a game called Washers for older kids and adults. All these games were borrowed so we didn’t have to spend a dime!

sat-may-3-2008_1.jpg

  • 5. If you are serving food have it ready near the beginning of the party. This is one of my personal pet peeves. If I know that a party is serving food I usually arrive hungry and ready to eat. I don’t want to wait an hour while you fire up the grill. Serving food at the beginning of the party usually makes everyone happy.
  • 6. Have someone else take pictures for you. I am so thankful for my friend Kara who got some amazing shots. I was free to mingle and take care of Ace while she digitally recorded the special day for us.

sat-may-3-2008_3.jpg

  • 7. Have plenty of seating. I didn’t want my guests trying to cut their brisket served on a paper plate in their laps. I borrowed a couple of extra tables and chairs for the back yard. I covered them with plastic table clothes bought at the dollar store for 99 cents each.
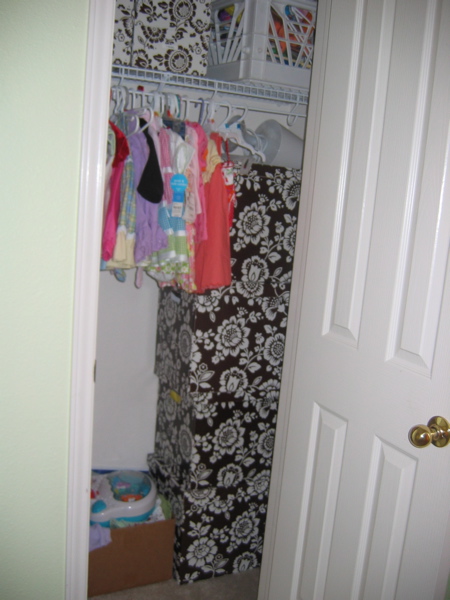
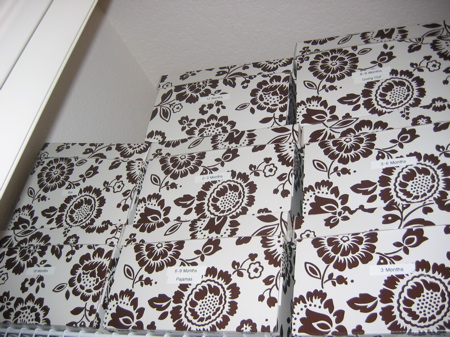
  • 8. Clean your entire house the week prior. I know this may seem like a daunting task, but it is worth it. I am much more calm and clear-minded when my house is clean. I never stressed if a guest wandered into a room with a closed door. A few guests used the guest bedroom to change and I was thankful that I had picked up that room.
  • 9. Cut the cake at least halfway or two-thirds into the party so people can feel free to leave. Everyone wants to see the little one take their first bite of pure sugar cake, so don’t make them wait too long!
  • 10. Open presents at the end of the party. Opening presents can take a long time, so it is best to do it after the cake. The people who wanted to see the gifts stayed and had a great time.
  • 11. Make a slideshow of photos to play on the T.V. I put a bunch of photos on my ipod and hooked my ipod to the T.V. You can also make a video of photos and burn it to a DVD. Or you could connect your computer to the television and play a slide show. Many people wandered into the living room and watched the entire show. The party guests enjoyed seeing themselves in the slideshow. It is a great way to celebrate your little one’s first year of life.
  • 12. Enlist help to set up before the party. You cannot set up all by yourself. Have a friend or relative come early and help. I am seriously thankful for the folks that helped me.
  • 13. Carefully plan the food set up and flow of traffic before the party. Spending a few minutes to think about where the plates, food, and drinks go will help keep people moving through the kitchen and clear any traffic jams.
  • 14. Place cheerios and goldfish out for the little ones. They will appreciate the snack just for them. The cheerios were a big hit at our party.
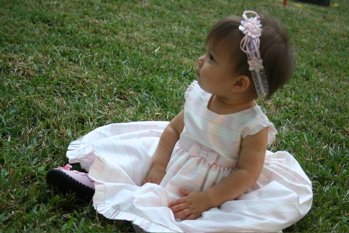
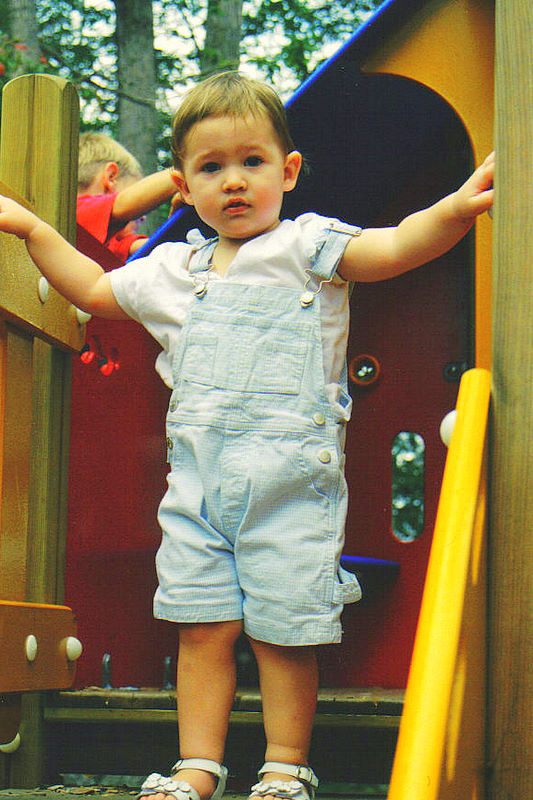
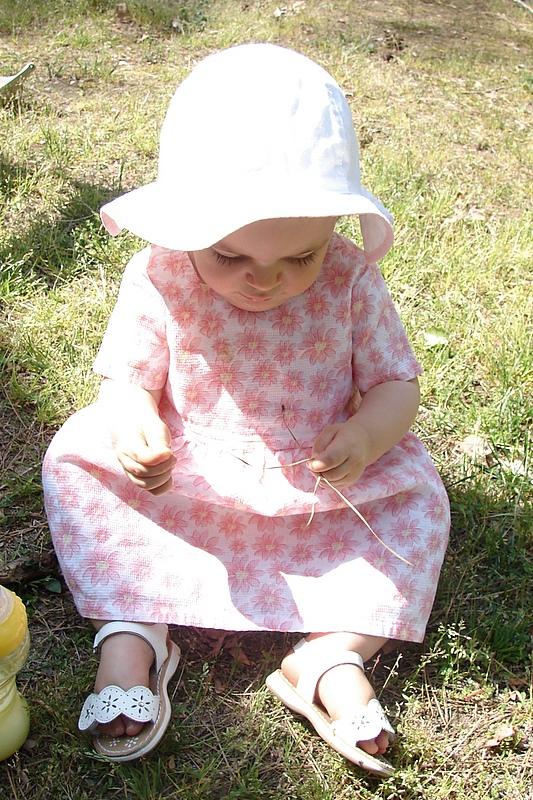
  • 15. Have the washtub and a back up outfit ready. Ace got a quick bath to rinse off the icing and she got to wear two super cute dresses to her party. It was handy knowing I had a back up in case the first got covered in cake.

sat-may-3-2008.jpg

  • 16. Don’t make people feel obligated to stay more than two hours. I really like to respect people’s time and they appreciate it too. If people want to stay they will stay, but I think a party is much more fun if it doesn’t drag out the whole day.
  • 17. If you have a party at lunchtime or dinner then you should serve food. If you are just going to serve cake and snacks have it mid-morning or mid-afternoon. I think guests will be hungry if you have the party around a usual meal time.
  • 18. Save money and time by serving lemonade and tea made from instant powder. I spent about fifteen bucks for the drinks and cups for fifty people. It was a lot cheaper than serving sodas! Honestly, the instant tea wasn’t that bad.
  • 19. Don’t stress if everything isn’t perfect or you forgot something. The party will go on and everything works out. The focus is on your family and the new little one, not that you ran out of cups.
  • 20. Be in the moment. Once the party is going – enjoy it! Don’t forget to eat, mingle, and be proud of your accomplishment – your family has survived the first year!

Did you have a large first birthday celebration? How did it go? Do you have party pet peeves or any rules that you usually follow when you host? Do you have any money saving tips for parties?

Amanda

Happy Mother’s Day! The 5 Senses of Being a Mom

by Amanda on May 9, 2008
category: Inspiration

momandbaby.JPGI hope you are honored some small way this Mother’s Day! I have only been a mom for exactly one year, but this has been the proudest year of my life. I mentioned earlier this week that I enjoy creative writing. I got a few minutes to myself tonight at Barnes and Nobles and I wrote this poem for Mother’s Day. (Of course WordPress doesn’t like my cool formatting, so it took out my extra spaces.) I hope it inspires you to blog or journal some your favorite sounds, sights, touches, tastes, and smells of being a mom.

The Five Senses of Being a Mom

Hearing you laugh
when you wake in your crib
Singing in my ears
“Mama” and “Dada”
Listening to cabinet doors open
and all the Tupperware thumping to the floor
Knowing all your toy songs by heart
“One giraffe has spots all over him…”
Discerning all your cries
and knowing exactly what you need

Snacking on your tiny toes
Mashing bananas in oatmeal
Retrieving tree bark and petrified bread pieces
from your little mouth
Taking away your joy of eating
my black flip flops
Introducing you to avocado, butternut squash
and asparagus
Delighting in cheerios
lined around the coffee table

Smelling lavender and soap bubbles
lulling you to sleep
Catching the smell of roses and star-gazers
in the bright delivery room
Transitioning to solids
brings a whole new aroma to the room
Folding fresh miniature shirts and shorts
wafting of Spring mountain breeze
Rubbing my nose in your round
baby-fresh belly

Seeing your swaddled petite body
placed on my chest
Gazing into your beautiful brown eyes
Catching my breath every time
I see your first steps
Staring at you in my arms
all day long
Walking into the nursery
and seeing you stand up for the first time
Watching you grow and develop
in leaps and bounds

Cradling my sweet baby in my arms
Pressing my finger
into your tiny fisted hand
Squeezing your plump thighs
in my gentle grip
Holding your hand
as you walk across the room
Swinging you up in my arms
and kissing you all over

Dawn

Say Cheese: Simple Tips for Taking Fun Kid-Pictures

by Dawn on May 7, 2008
category: Cool websites,Inspiration

As I indicated a few weeks ago, I’m a big picture-taker, and I have been my entire life. Strangely enough, I never took any formal photography classes in high school or college (and now I’m kicking myself for it.) I’ve taken a couple of community courses in the past few years and have been employing some of the things I learned ever since. That said, let me be clear: I take pictures for fun. I edit and print my photos based on what appeals to me, not necessarily what is “good photography”. I really have no mind for the science of photography and rely mostly on the auto features on my cameras. And I am totally aware that there is a myriad of amazing mom (and mom-to-be!) photographers out there. Those of you who took the plunge and tried Best Shot Monday know what I’m talkin’ ’bout! So don’t misunderstand and think that I think I’m some kind of photography genius. Oh, no.

Here’s what I’ve learned (all from books, other blogs, and the aforementioned classes). If you’re feeling like you just can’t get a good shot of your adorable child, try some of these basics:

  • Get close up! There’s nothing more boring, in my opinion, than a picture of someone who is too far away. You shouldn’t have to squint to see what facial expression the subject has. This applies to larger group shots too. How many of those do you have where it’s a sea of “heads” and you can’t really make anyone out?
  • Get down to the kid’s level. A picture taken from the parents’ point of view makes the child look really small. It’s a lot more exciting to see the child right up front rather than from above. I find it’s especially effective when you’re looking “up” to the child.

img_2845.JPG

img_2890.JPG

late-july-early-august-06-148.jpg lilly-in-the-park.jpg

dsc03305.JPG november-matt-gina-vist-2006-035.jpg

  • Don’t make your child pose for every picture. Some of the most interesting pictures I’ve ever seen and taken are candid. Get into the habit of shooting every expression your child ever makes and every action he/she ever does, with or without them looking at the camera.

feb-march-2007-038.jpg life-when-we-were-out-of-pinehurst-078.jpg

late-april-2007-037.jpg april-and-easter-07-057.jpg

  • Avoid the “say cheese!” routine. Those tend to yield the most unintentionally-lame smiles the kids muster. I’ve found that cracking a joke or doing something funny gets those natural smiles out quickly. This is easier to do with digital cameras, too, because they’re not directly up to your face, blocking your expressions from the kids. But you gotta be fast! Lately I’ve found myself singing “Head, shoulders, knees & toes” to Lucy to get a real smile out of her when I take pictures.

life-when-we-were-out-of-pinehurst-124.jpg dsc00673.JPG

dsc03311.JPG

  • Crop out whatever is distracting, unnecessary, or uninteresting. This vastly improves a picture. The idea is to fill the frame with the subject. If that’s impossible to do straight out of the camera (SOOC for you photo-philes), utilize a cropping tool in your photo software. I remember learning somewhere that it’s better to avoid using your zoom feature, and instead crop the far-away subject on your computer (the picture comes out clearer.) Here is a basic example:

Before:

img_1812.jpg

After:

img_1812-1.jpg

  • It’s okay to cut off part of the subject’s head. I realized recently that I do this a lot! There are some old-school types who just can’t handle this, and that’s okay too. Whatever pleases you aesthetically should be your goal. My thought is that a good picture doesn’t have to be perfectly centered or framed. Here’s another post from Shutter Sisters on the same topic.

april-5-and-6-2006-020.jpg

dave-with-watermelo.jpg

dsc02979.jpg

memorial-day-weekend-2006-072.jpg

feb-march-2007-093.jpg

dsc01591.jpg (I told you I do this a lot!)

  •  Blurry photos aren’t necessarily bad photos.

dsc01832-1.JPG

dsc09204.JPG

  •  Experiment with creative subjects and shoot from different angles. It’s fun to look at the “everyday” with a different perspective!

dsc08413.jpg

dsc08778.JPG

dsc02904.JPG

  •  When shooting outdoors, have your subject wear something red. I’m not sure why, but red really pops in natural light. Here are some examples:

bbq-at-sues-june-2007-006.jpg dsc09365.JPG

dsc08447.JPG

shadow-and-lucy.jpg

  •  Cloudy or overcast days are best for outdoor pictures. I remember hearing somewhere that wedding photographers prefer overcast weather for outdoor shoots. Sunshine is indeed pretty; squinty faces in direct streaming sunlight are not. If it’s a blazingly sunny day, head for some shade for the people-pictures, if possible!
  •  Take your camera everywhere; have it on hand at all times! I can’t stress this enough. The beauty of a digital camera is that you can take as many pictures as you want and just delete the bad ones, so take out your camera and play! You just might capture the perfect moment when you least expect to.

late-may-07-025.jpg

mid-august-2007-019.jpg

lucy-in-the-light.jpg

siblings.jpg

(As you can see, I’m a big fan of black & white and sepia tones for the classic moments!)

Some books that get these points across with lots of great examples are How To Photograph Your Baby, How to Photograph Your Family, and How To Photograph Your Life by Nick Kelsh. I like his books because they’re very easy to understand.

Other places online to find great tutorials and photographic inspiration (these people seriously put me to shame):

Shutter Sisters

Mother May I

The Land of K.A.

Momology

The Hip Momma’s Journal

Are a photography junkie like I am? Do you take scads of pictures of your children on a weekly (or daily!) basis? We’d love to see your photos. Link us to some of them in the comments section!

Amanda

Creative Writing Moms and Literary Magazines

by Amanda on May 6, 2008
category: Cool websites,Inspiration

753201_writing_3.jpgOne of my hobbies is creative writing. I was inspired to keep a creative writing journal after reading (most of) Natalie Golberg’s book, “Writing Down the Bones.” I saw Dawn mention the book on her blog once. It is a collection of short essays giving advice and tips on how to be a better writer. A goal that I am always working on is to become a better writer and story teller.

One way that I have been working on improving my writing is by flexing my writing muscles with San Diego Momma’s Tuesday Prompts. Every Tuesday she posts a writing prompt and you must post your response on your blog or in the comments on her site. It is really fun to see what everyone writes. I feel like it is like a Best Shot Monday for writers. Even if you aren’t remotely creative with words you should take a chance and try it! You might even surprise yourself.

Online literary magazines are a great source of inspiration for me. I have even thought about trying to write pieces of my own for submission to them. I am not completely sure of the submission guidelines. Who knows if I ever will, but it is a nice goal for me to keep in the back of my head.

Literary Mama has some fascinating stories. I just read “Alpha Mom,” by Kelly Fordon. The story was incredibly sad, but it was also really good because it stirred up a lot of emotions in me. I just checked and read that it was a fiction piece. Thank God! The story reminds me of Anita Shreve’s novel, “Sea Glass,” because the writing and characters are interesting until you get to the depressing ending.

Mamazine is interesting. They pride themselves in writing about other mom interests besides crafts and car seats. I enjoyed and related very much to “First Spoon,” By Odarka Stockert.

When I think of online women literary magazines my first thought goes to my friend, Janell’s, literary magazine called, The Fringe. I read Jennifer Ann Janisch’s Non-Fiction piece “Solo.” The whole time I was thinking “What are you doing!?” It is incredibly well written. I was so immersed in her story that I didn’t hear my baby crying in her crib after her nap until my husband asked me if I heard her.

Mom Writer’s Literary Magazine is another online literary magazine for moms. I related a little too well to Michele Markarian’s “Miles in the Morning.” My daughter isn’t in my face yet, but I hear her in her crib as I pull up my covers and pretend her cries don’t exist.

Finally, I read in Literary Mama’s blog that TravelingMamas.com “is in search of true uplifting, funny, inspirational, and touching stories with a travel theme for an upcoming anthology series. Possible themes may include family travel, romantic escapes, girlfriend getaways, and solo trips. ” The deadline is September 1,2008 and they may even give you $50. Check out the blog post for more information.

Do you enjoy creative writing? How about on your blog? Have you ever read any of these literary magazines? What do you think of them?

Amanda

A Peak Into My Nursery

by Amanda on May 4, 2008
category: 0 – 1 year (baby),Pregnancy,Product Reviews

My little girl celebrated her first birthday with a party at our house this weekend. So I decided I should probably finish putting her nursery together, you know, so I can show it off to all my family and friends. Luckily Ace can’t talk yet and complain about my wall color choice or beg for Dora posters. The nursery still isn’t complete. There are two blue v-shaped floating shelves that I am waiting for my husband to hang.

We started the nursery when I was pregnant. We didn’t find out the gender so we wanted a gender-neutral room. Also, we are planning a second child some time soon and I didn’t want to re-theme the same room for the second one. I am way too cheap frugal that way. We chose a light lime/apple color for walls. We matched the wall paint to a pair crib sheets we picked out. Then anchored the room with white furniture and blue and orange accents.

The Room

dresserwall.JPG

* Diaper Champ! love it. Gift from baby shower
* White Dresser from Ikea – $69.99
* Changing pad from a baby shower gift.
* Oatmeal laundry basket – Gift from baby shower
* Dump truck from my niece.
* Orange hanging storage unit from Ikea – $4.99. This is a great place to store all those bazillion stuffed animals that we receive as gifts. Really, how many stuffed animals does a girl need?
* Dimmer on the wall from Lowe’s – $20
* Art by me.

cribwall.JPG

* Crib from Babies R’ Us – A gift from my in-laws and Uncle at my baby shower!
* Sage Gerber Crib Sheet from Babies R’ Us – $7.99
* White Dust Ruffle from Babies R’ Us – $17.99
* Art by me.

curtains.JPG

* Do you see the strange blue things in the corner? Those are the two blue wall shelves from Ikea that need to be hung – $6.99 each.
* Hedda Multicolor curtains from Ikea – $29.99
* Bright orange sheers from Ikea – $14.99 for a pack of two
* Curtain hardware from Ikea – $3.99 for rod – $1.49 for hardware.
* Marley the monkey and stroller were gifts.

closetwall.JPG

* White bookshelf is a hand-me-down from my friend, Barb.
* Blue storage bins from Ikea – $1.49 each.
* Books, frame, and stuffed animals were gifts.

The Closet

closetdoor.JPGclosetboxes.JPG

* Large storage boxes from Ikea – $6 for pack for 2.
* Small boxes for clothes (notice: they are all labeled!) – $3.99 for 2.

Lighting

lighting1.jpg

lighting2.JPG

* Magnesium Spotlight System from Ikea – $69.99. I saw a picture of a nursery with cool track lighting and found this alternative. They were really easy to install. We also added a dimmer. I also like how the S-shape mimics the pattern in the curtains.

Art

artcircles.JPG

artalphabet.JPG

* Canvases were a total of $35. I can’t remember. Brushes – $3. I used leftover wall paint for the paint. I am not an artist and this was my first attempt. I used to see abstract pieces of art and think, “I could do that!” Now I know why art costs so much. I didn’t have the right paint and my skills simply aren’t the best. I did these really quickly last week.

* The circle art is inspired by Essence-Chocolate and Essence-Blue from art.com.

* The alphabet piece highlights my daughter’s initials in orange. I remember seeing a website where they would create an artwork piece with your child’s name highlighted in the alphabet. It just worked out the A,C, and E are the beginning for me.

Putting together Ace’s nursery was incredibly fun for me. Can you tell I love Ikea? Did you put a nursery together for your little one? Do you kid’s room have a color palette or theme?

We’d love to see your nursery or kid’s room – post a picture or video to your blog or to flickr or YouTube (etc) and leave a link in comments below!

« Previous PageNext Page »